Creating a Perfect Tailhead | Tips From Stock Show University
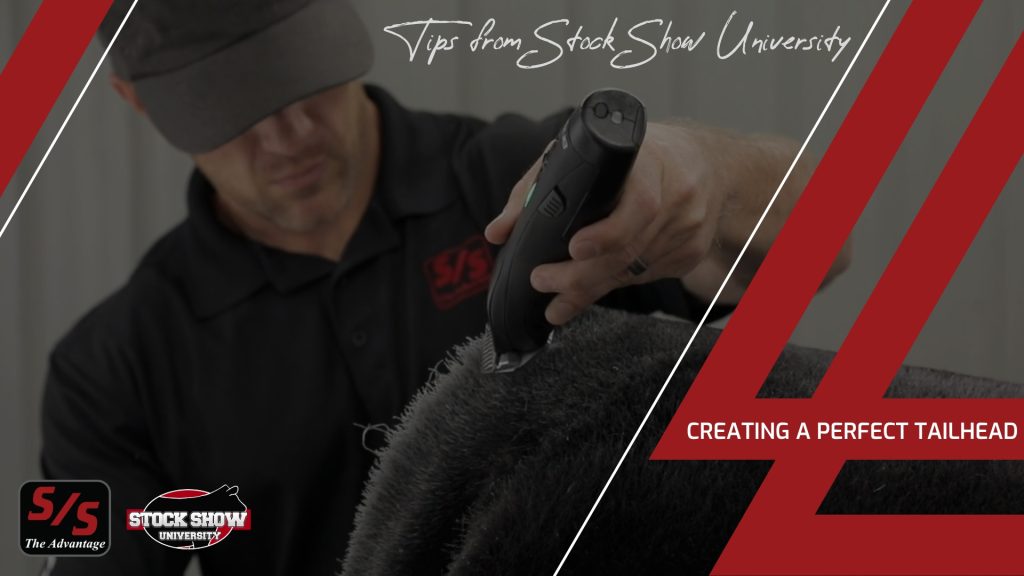
It is show day, and you were just informed that you are in charge of fitting a calf’s tailhead. Even though you may know the basics of fitting a tailhead, Stock Show University is here to give you a quick refresher of the steps to create a perfect tailhead on a calf.
Before you start fitting the calf’s tailhead on show day, Stock Show University recommends clipping the tailhead close to the way you want the finished product to look before you start fitting. Just like fitting any other part of a calf, fitting a tailhead will vary from calf to calf, so make you analyze the calf before you start fitting. After all the clipping is done, it is time to apply the adhesive. Remember when choosing a Sullivan’s adhesive, Sullivan’s Tail Adhesive is our strongest adhesive and Sullivan’s Prime Time is our lighter adhesive option.
Once you have clipped the tailhead, use a Sullivan’s Tefflon Comb or metal comb to comb through and separate the hair follicles on the tailhead. This is important you do before you start applying adhesive to the tailhead. The tailhead is one of the few spots on a calf where you want to limit combing after applying a product. We stress this advice because once there is adhesive on the tailhead, combing may increase clumping the tailhead tails together, creating an unnatural, less clean look for your finished product. If you are going to be combing through it, we do recommend using a slicker brush, as the teeth are better to break up the hair more.
When applying Tail Adhesive or Prime Time Adhesive, you are going to use the same concept when fitting the legs of a calf—less is more. Little, light sprays of the adhesive on both sides of the tailhead will help you create your perfect tailhead other than spraying a lot on at once. You’ll also want to spray towards the back of the calf from the hip so that any extra product is going away from the calf verses on the calf’s topline.
After the adhesive is applied, you will move directly behind the calf and use your fingers (preferably your two pinky fingers) to gather and smooth the hairs on the tailhead. You will want to stand directly behind them to make sure the calf’s tailhead is fit in line with the rest of the body—not favoring one side over the other. After you have shaped the tailhead with your fingers and the adhesive is dry, spray a light amount of Sullivan’s White Powder’ful over the tailhead – just like you sprayed the adhesive. The Powder’ful will act as a guide to help you visually see what needs to be clipped off or cut off with your fitting scissors after the tailhead is pulled up with the adhesive.
When shaping the tailhead, the goal is to have the tailhead shaped in a soft curve—not a complete 90-degree point. Choosing to clip or use a pair of scissors to shape the tailhead is the personal preference for each fitter. Several Stock Show University Professors give the advice that they do use clippers, but scissors will allow you to have more control when shaping the tailhead verses a pair of clippers—creating a sharper appearance on the finished product.
After the tailhead is all shaped, and you believe it is done, use the touch-up paint color that matches your animal. For example—If the calf that you just fit is black, you will paint the tailhead just like you would paint a black calf’s legs—starting with Jet Black and then finish the leg with Sullivan’s Black Finisher.
For more tips and video tutorials on fitting, visit https://www.sullivansupply.com/stock-show-u/online/.


