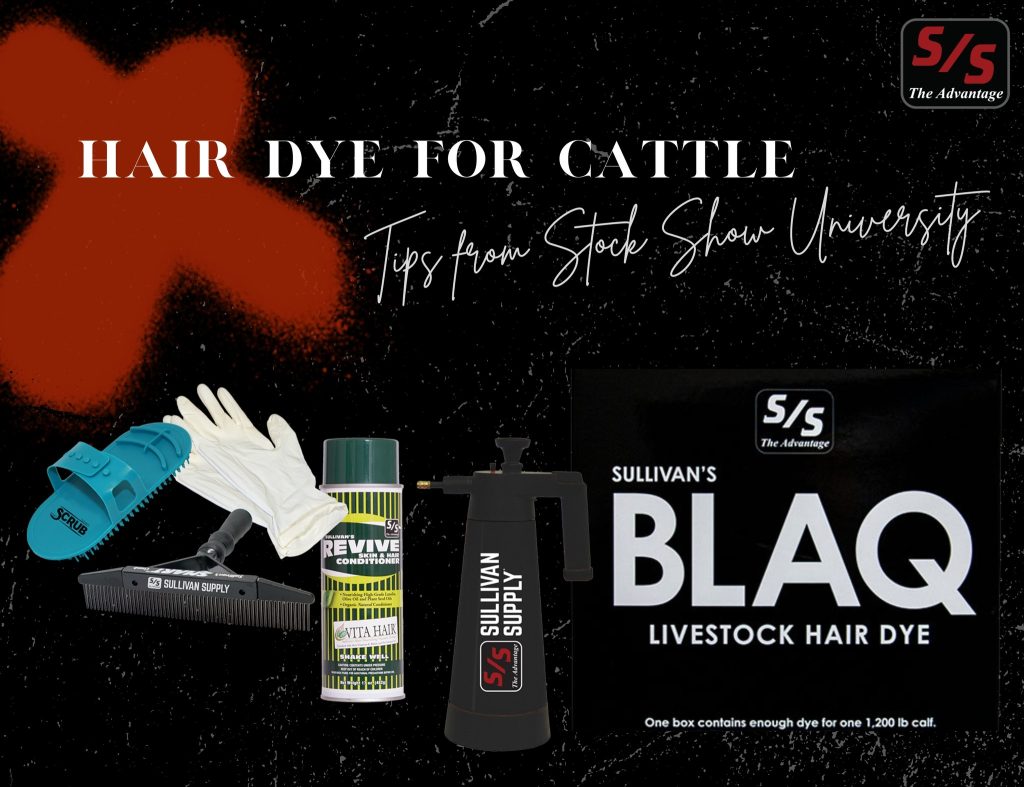
Hair Dye for Cattle | Tips from Stock Show University
Before most shows, one of the items on the to-do list is to dye your animal’s hair. During this Stock Show University Tip, we will be discussing the different hair dye products that Sullivan Supply has to offer, along with tips and tricks on the dying process in your barn.
When choosing a hair dye for your animals, would you like a product that delivers better coverage, a richer hair color, easy to apply, cost-effective, and more gentle when used properly? Sullivan Supply has you covered! For black cattle, refresh your animal’s hair back to a long-lasting, brilliant black with Sullivan’s BLAQ livestock dye. BLAQ, color for black colored livestock. ENVY, color for dark red livestock, and FYRE, color for medium red livestock, were specifically formulated to be a long-lasting dye that, when used properly, won’t irritate the skin and hide of the animal.
Now, that you have a dye purchased, you might be wondering what is the best way to dye your animal. Stock Show University recommends that you start with a clean, dry, and clipped animal—along with you wearing older clothes (even when you do all the steps correctly, it might be a little messy). No oils should be applied to the animal’s hair before the dying process. When prepping your animal, make sure they are tied in a shady area, out of direct sunlight. If you are wanting to dye your animal, and they do have some white on them, spray Sullivan’s Hocus Pocus on those areas to prevent the dye sticking to that part of the hair coat. You also can apply Hocus Pocus to the ear tag as well, so it does not also get stained. If the tail is white, you may grab an AI glove to cover the tail from preventing it from getting mixed with the color dye, or you may use a tail clamp. Lastly, to protect sensitive areas on your animal such as the udder, rectal area, under the tail, etc., spray Sullivan’s Revive on those areas to help avoid irritation.
Once your animal is ready to go, you will need to mix the dye bottle and the activator bottle into a Top Gun bottle and sprayer or a Heavy-Duty Pump-Up sprayer. Directions for mixing are on the dye box, and each kit covers a 1,200 pound animal. Once mixed, put on plastic or latex gloves and spray ⅓ of the dye on each side of the animal, using the remaining ⅓ on thicker haired areas on the animal. If you are dying the tail switch, do that part last, as the animal might switch their tail. Once all the dye is in, let the dye sit on the hair for a maximum of 30 minutes. While the dye is sitting, comb in with an old SMART comb or a Smart Scrub Brush to work the dye into the hair. Note—make sure your comb and scrub brush are oil free before you start combing the dye into the animal. You may also put a fan on them during this process to help the dye set into the hair coat.
Once the dye has been in for 30 minutes, start rinsing your animal until the water coming off the animal is clear. After this, wash your animal with Sullivan’s Volumizer shampoo like normal. Rinse out the soap and dry your animal. Apply Sullivan’s Revive or Revive Lite onto the animal’s hair to help condition the hair as well as bring out a deeper color within the hair. After this process and days after, continue your normal daily care routine with Sullivan’s Revive/Revive Lite and Sullivan’s Kleen Sheen to keep your animal’s hide healthy.
For more tips and video tutorials from Stock Show University, visit https://www.sullivansupply.com/stock-show-u/online/.


